

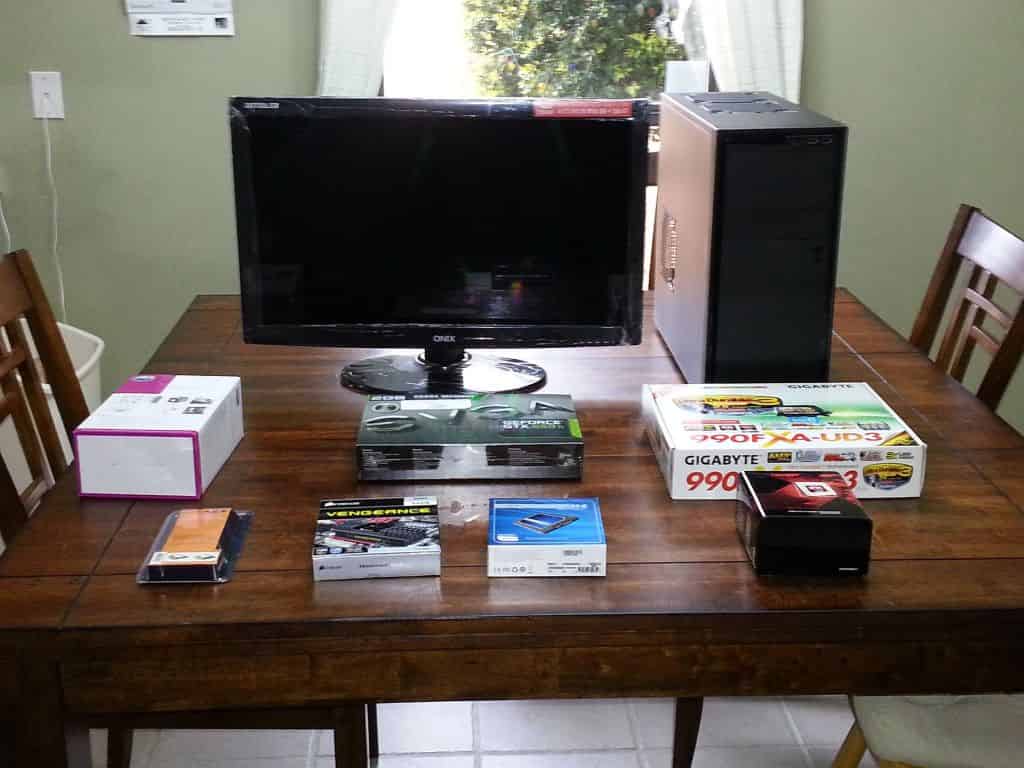
This holiday season was especially tortuous; I had a mountain of computer parts sitting in my office taunting me while I was enjoying the holidays with family and friends. Sure, I was happy to be spending that time with them, but it was a little bittersweet since I wanted also to be playing with my shiny new toys.
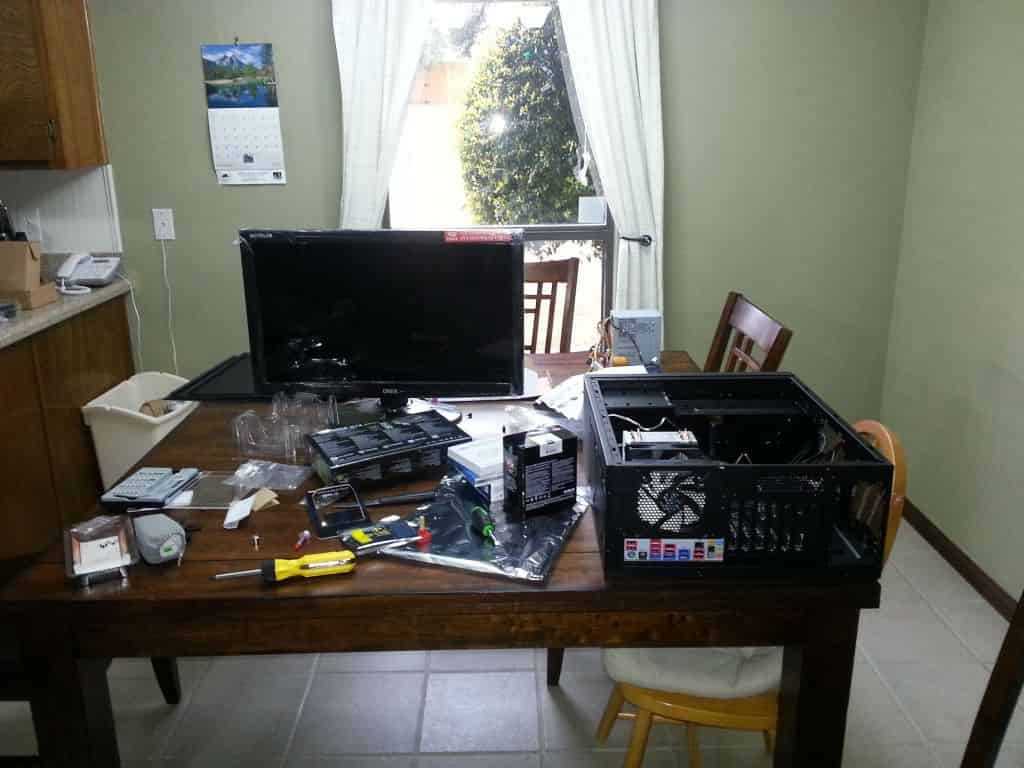
On New Year’s Eve, I got started opening boxes and assembling the computer. For the most part, everything went together very smoothly. Between starting to put everything together and putting the wrapping touches on this blog, I encountered two minor problems and two major ones:
Minor Problems
-
The CPU Cooler (Cooler Master Hyper 212 Plus) I bought was ginormous; it was virtually bigger than my head! It took a little bit of elbow grease and sweat to get it mounted correctly and squeezed into the case.
-
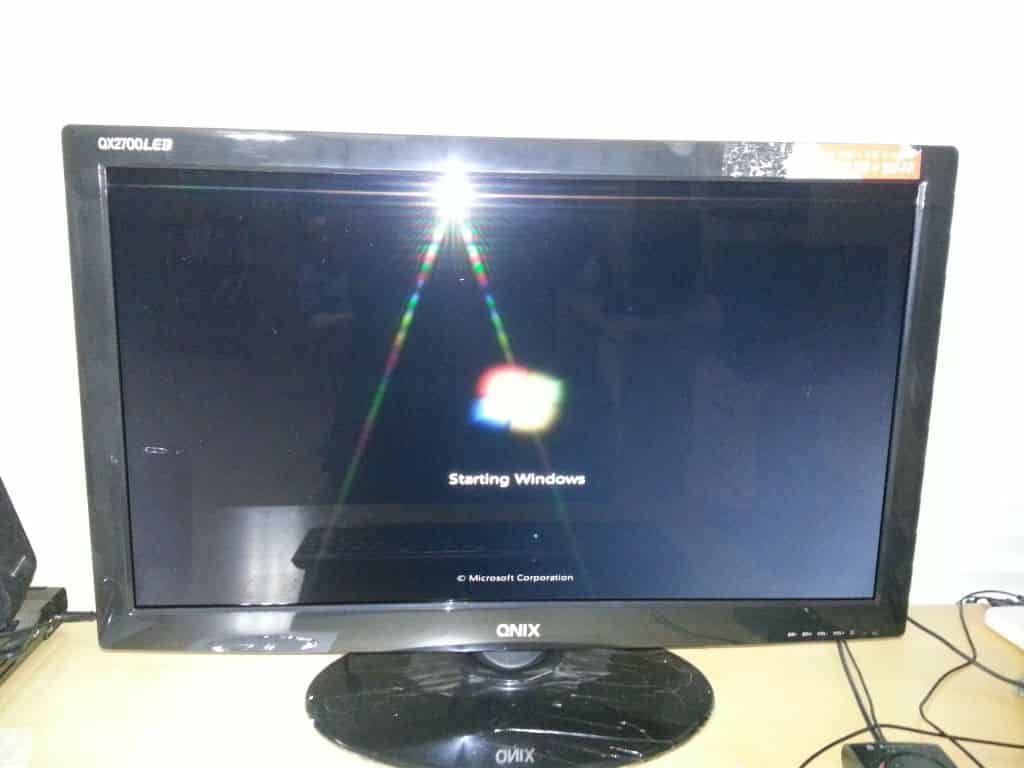
The monitor had a sticker on it that was very difficult to peel off the bezel. It took me longer to carefully remove the sticker than what it took for the operating system, Windows 7, to load from scratch.
Major Problems
- The RAM I bought, Corsair Vengeance (4x8GB) DDR3 1866 MHZ (PC3 15000), is being auto-detected at 1333MHz instead of 1866MHz. Manually setting the RAM’s multiplier results in the motherboard saying you’re being too aggressive in your overclocking, and defaulting back to 1333MHz. I spoke with Corsair’s technical support people and they turned me on to this DDR3 Memory Frequency Guide from AMD. Apparently, when using all 4 DIMM slots it’s not possible to run at 1866MHz. This was an unfortunate mistake I didn’t catch in time. I suppose I could return the RAM and exchange it for something cheaper, or I could spend quite a few more bucks and get 2x16GB 1600MHz to stay at 32GB total and almost attain the faster speed I wanted. In the end, I was so happy with the machine, I didn’t want the cost savings from buying slower RAM or the performance gain of working around this you-cant-run-4-DIMMs-at-1866MHz-on-AMD-FX-CPUs issue.
- Before the upgrade, I was unaware that Windows 7 Home Premium is limited to a maximum of 16GB of System RAM. After tinkering with limiting the system RAM for disk benchmarks, I stumbled across the fact that Windows was reporting a system of 32GB system RAM, but only 16GB of it was usable. In order to get to use all 32GB of the RAM, I had upgrade to Windows 7 Home Professional (or Ultimate). The most disappointing part of this was that it cost me an additional $90 to do the Windows Anytime Upgrade.
The Butt Dyno
For those of you not into cars, the Butt Dyno is an unscientific way for a driver to measure the effect of an upgrade to his car. It’s not a precise or specific measurement, but it’s significant; if you could feel the effect of the upgrade then you could enjoy the upgrade and brag about it to your friends. The same can be applied to computers; you don’t need an armful of system benchmarks to conclude that your PC is faster-you just need to sit at it for awhile.
My initial impressions for my new computer can be summed up in a single word: Wow!
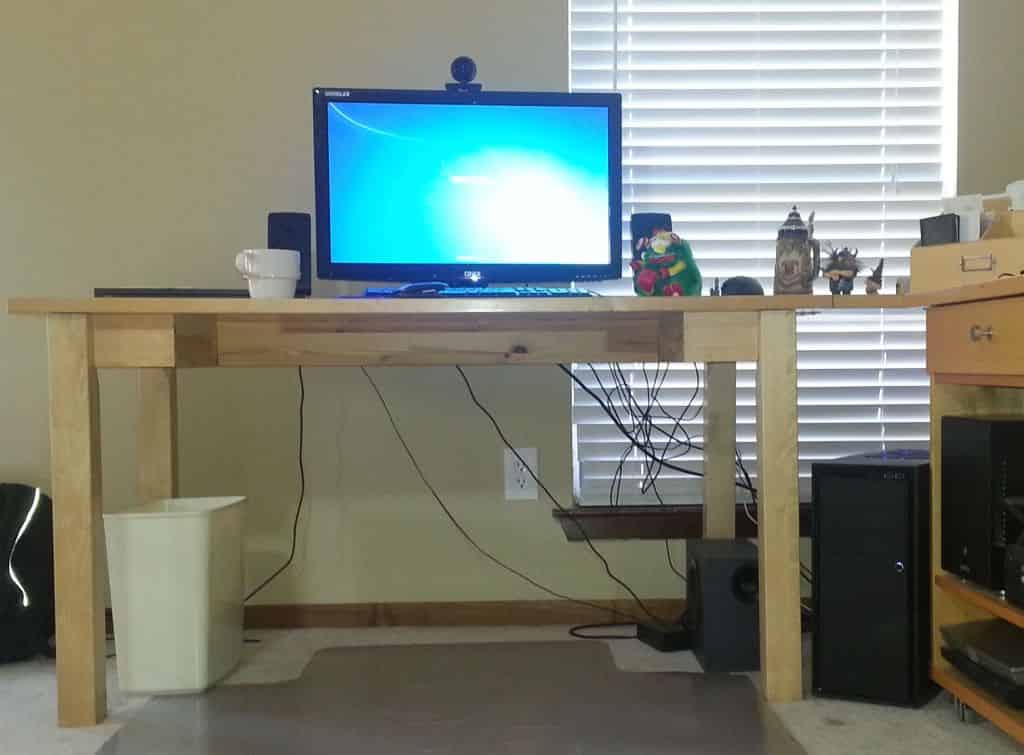
Firstly, the display is nothing short of amazing when compared next to my old display. The monitor is extremely bright, crisp, and expansive both in size and resolution. I’m going to need to start finding software to help me set up and manage a window layout in order to make the best use of all the territory that is now in front of me.
Secondly, the computer is incredibly responsive and fast. In every aspect of use; boot time, opening up applications, working with browsers with dozens of open tabs, etc… I fired up my favorite game, Team Fortress 2 and used Chris’s TF2 Configs to set all of the video details to maximum and run at my display’s native resolution of 2560x1440. My frame rate was consistently in the 80+ range. Considering that within the last month I had to use one of the more basic configs to drop down the detail in order to keep my frame rate playable, this was astonishing to me. With the graphics details turned all the way up, the game looked and felt fantastic but remained completely playable. Despite TF2’s relative old age, I can’t remember ever being able to take one of my favorite video games and play it at maximum detail and have it feel enjoyable after this kind of an upgrade.
Now, the only problem with the Butt Dyno is that it is always subjective. Just about any recent computer is going to feel much better than my three-year-old PC. The butt dyno results are very encouraging but whether or not I achieved my goal of tripling my performance will also be determined by the benchmarks and comparisons to the results from the old PC.
Benchmarks
I was really excited to get the benchmarks running; for all benchmarks I used all the same settings from my previous benchmarks. The only exception is that I added an additional benchmark of the Crucial M4 SSD to see if there was any added benefit from the six extra cores I now have with regards to disk I/O.
Processor / GPU / System
I started off with my GPU benchmark first, because I knew it would be my smallest boost in performance. I had previously upgraded the video card in my machine roughly 12 to 18 months ago. Because of my budget, I wasn’t able to triple the number of CUDA cores, so I had to settle with only doubling the number of available CUDA cores. I was expecting to see the least amount of improvement here. My original score was P8199. Running the same exact benchmark on my new computer resulted in a score of P16902. Which was an increase of 206%.
Then I ran Geekbench; previously my old system had scored a 2847. After some whirring and clicking the new PC scored a respectable 10545, an increase of 370%, which was well past my goal of tripling overall performance.
I followed that up with the overall system benchmark, PCMark Vantage. Earlier, my old computer had scored 3671. Running the same benchmark on my new computer resulted in a score of 14228, an unexpected increase of 388%. I had expected the graphics component to weigh down the improvement just a tad, but the performance increases in other areas more than made up for it and nearly quadrupled my score.
Disk
Just like I was only expecting meager gains from the video card, I anticipated extraordinary gains beyond my goal moving from a platter drive up to a solid-state drive. I had some problems trying to run the same exact settings as before; specifically I had the benchmark create a file that 10 * the amount of system RAM to negate the benefits of caching. However, since I have 32 GB of RAM and a 256GB SSD, clearly I would wind up creating a file much larger than the total capacity of the SSD. Furthermore, I was using the SSD as my primary storage, and after loading up all my apps, the SSD only had 85 GB free. What I decided to do was to limit the amount of RAM using Windows boot parameters. That way, I could bring total system RAM back down to 2GB and reproduce my prior benchmark settings.
The good news is that the SSD is many, many magnitudes superior than my old hard drive. The bad news is that it’s SO much better, that I had a really difficult time getting to the data on a graph and have it make sense. We had to put three different y-axes on the graph in order for it to make the most amount of sense.
Basically, when running the same exact settings in IOMeter, Total I/Os Per Second increased from 405 to 36,512 (over 9000% improvement) and Total MBs/Second increased from 5.2 to 142.63 (over 2700% improvement). Overall, disk performance increased so far beyond my 300% goal that it’s almost comical.
What I Could Have Done Differently
The two major problems drove up my price up by another $100.00 or so. Firstly, wanting to have 32GB of RAM forced me to upgrade my OS, which was a substantial unplanned expense. Secondly, I paid a premium to buy 1866MHz RAM that I have to run at 1333MHz because I filled up all 4 DIMM slots. Had I been a little more thorough in my shopping and research I would’ve chosen to do either of the following to try and under $1000 total:
- Only buy 16GB of 1600MHz RAM: This would’ve saved me $90 on the Windows upgrade plus, around an additional $90 in the cost of the actual RAM. This would’ve put me well below my budget of $1000.
- Buy 32GB of 1333MHz RAM: This only would’ve saved me $20-30 dollars total; I still would’ve had to pay for the upgrade to Windows 7 Home Professional
Conclusion
Ultimately, I hit one goal and missed the other. In almost every measurable regard my computer is at least three times as powerful as my prior computer. It literally runs circles around the old computer and as far as upgrades go, this is the one that stands out as the most impressive that I can remember.
The goal I failed on was the budgetary goal I set out for myself. And I’m more than satisfied missing out on that goal. I wanted to prove that for $1000 you could buy a very nice computer and display. By tweaking components a little bit and/or waiting for prices to fall over, time this is very attainable. I exceeded the $1000 mark, but that enabled me to buy a bigger SSD and get my new computer up to 32 GB of total system RAM. In the long run, these splurges will be well worth the money spent. Now, you’ll have to excuse me. I have a hankering to play Team Fortress 2 at 2560x1440 with every video option set at the maximum setting.