
I was standing stoically, enveloped completely by the subjects of my conquests. My muscles ached in the delight of a job well done. What was I up to? Cast as an extra in the upcoming 50 Shades of Grey dressed in a gimp suit? Thankfully for the lens of my digital camera and for the future box office success for E.L. James’s movie, the answer is no.
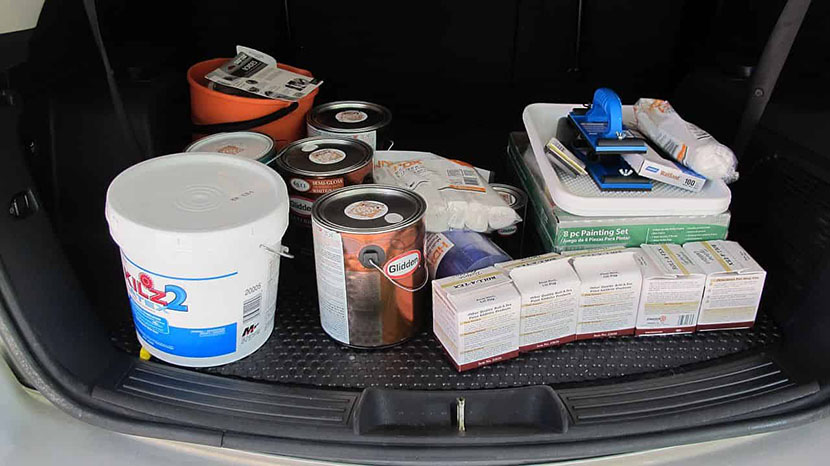
I’ve reached the point in the Garage Makeover project to start painting. We went to Home Depot one recent weekend; I spent what felt like three hours in the paint aisle picking out supplies, and more importantly, paint colors. Because I’m painting in the garage, which is ocassionally exposed to the elements, I decided to use exterior paint in the garage.
I have decided to paint the ceiling a light grey, the walls white, and then I picked up a quart of darker grey paint to paint the flourescent light fixtures, water heater door and trim, and also the attic door.
Because I scraped the popcorn off the garage ceiling, the ceiling was in need of some preparatory work. Firstly, removing the popcorn revealed all of the drywall screws, some gouges, and a pretty beefy patch. I spent Saturday with some sandpaper and spackle and worked on touching up those blemishes—or so I thought!
For some reason, this Garage Makeover project only captures my attention during the hottest time of the year. Because of this, painting has moved at a crawl. On a regular basis, I’ve been closing the garage door and firing up my garage’s air conditioning unit the night before I wanted to paint and then doing it during mid morning the next day. This has slowed things down pretty considerably, but that shouldn’t be surprising for a project I launched over a year ago.
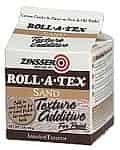 I did my best to touch up some of the defects in both the ceiling and the walls with a bit of spackle and some sanding. Because the texture had been scraped off the ceiling, I decided it was probably a good idea to put a coat of primer on the drywall on the ceiling. I was tempted to do some sort of texture on the ceiling, but ultimately I decided against it. I decided to use Roll-a-Tex Sand as an additive to the paint for the ceiling.
To be honest, I think I’m going to wind up wishing that I’d used an actual texture for the ceiling. I seemed to have a hard time consistently applying the Roll-a-Tex Sand evenly across the ceiling. If you look closely, you can see some spots which seem much more “sandy” than other spots. I tried a few different methods to change how I was applying it, but I think my lack of experience probably meant I wasn’t being very consistent and I never found the right approach.
All that being said, I think it looks way, way better than the popcorn texture that was up there before. Especially the parts where the popcorn texture was peeling away. Hopefully by using exterior paints, it can stand up to the nature of a garage more durably and last longer than the original popcorn texture.


Up next? Paint everything else, put the light fixtures back up, move everything from the patio back into the garage, and then I can start working on the “fun” stuff! I’m hoping to be done before Thanksgiving, at the rate I’m moving that might be a bit aggressive.