
Update: After almost three months, I’ve posted some feedback on my experience so far with the wireless charging added to the phone. Please see the Update section at the end
I bought my wife a Google Nexus 4 for Christmas and then for our anniversary, I purchased her the wireless charging accessory that is available for it. I was almost instantly green with envy. As a pretty avid user of my smart phone, I very rarely make it through a day without needing to charge.
I wondered how difficult and expensive it would be to add wireless charging to the Samsung Galaxy S3. I had read rumors that Samsung would be selling a wireless charging system, but the phone’s been out quite a while now and nothing seems to have reached the market. Considering the fact that Samsung’s marketing department is cranking up on the Galaxy S4, I’m dubious about whether something will come out for the Galaxy S3 from Samsung.
Unexpectedly, I stumbled across this thread on the XDA forums which detailed an “easy” way to take pieces from obsolete Palm phones to add wireless charging to the Galaxy S3 in five minutes. In reading the thread, there didn’t seem to be anything that I felt I couldn’t do, and in looking at prices on Amazon, the parts were going to add up to much less than what I paid for my wife’s charging mat.
Over the years I’ve found that when someone says something is “cheap & easy” on the Internet to do yourself, somehow it manages to turn into expensive and frustrating when I take it on. But considering the fact that the parts cost so little, I couldn’t help but give it a try.
Parts List:
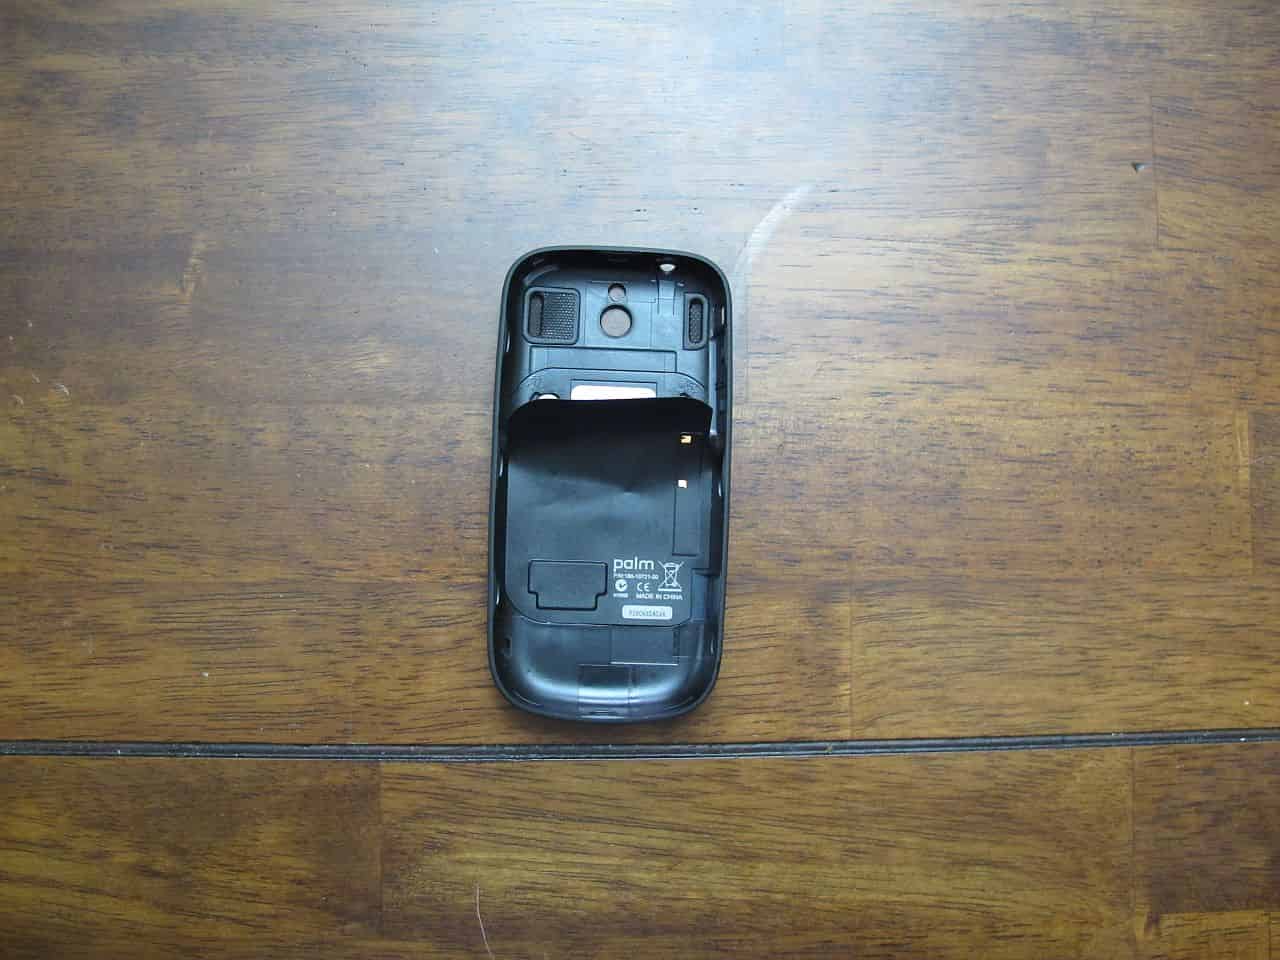
- PALM Pixi Touchstone Back Cover
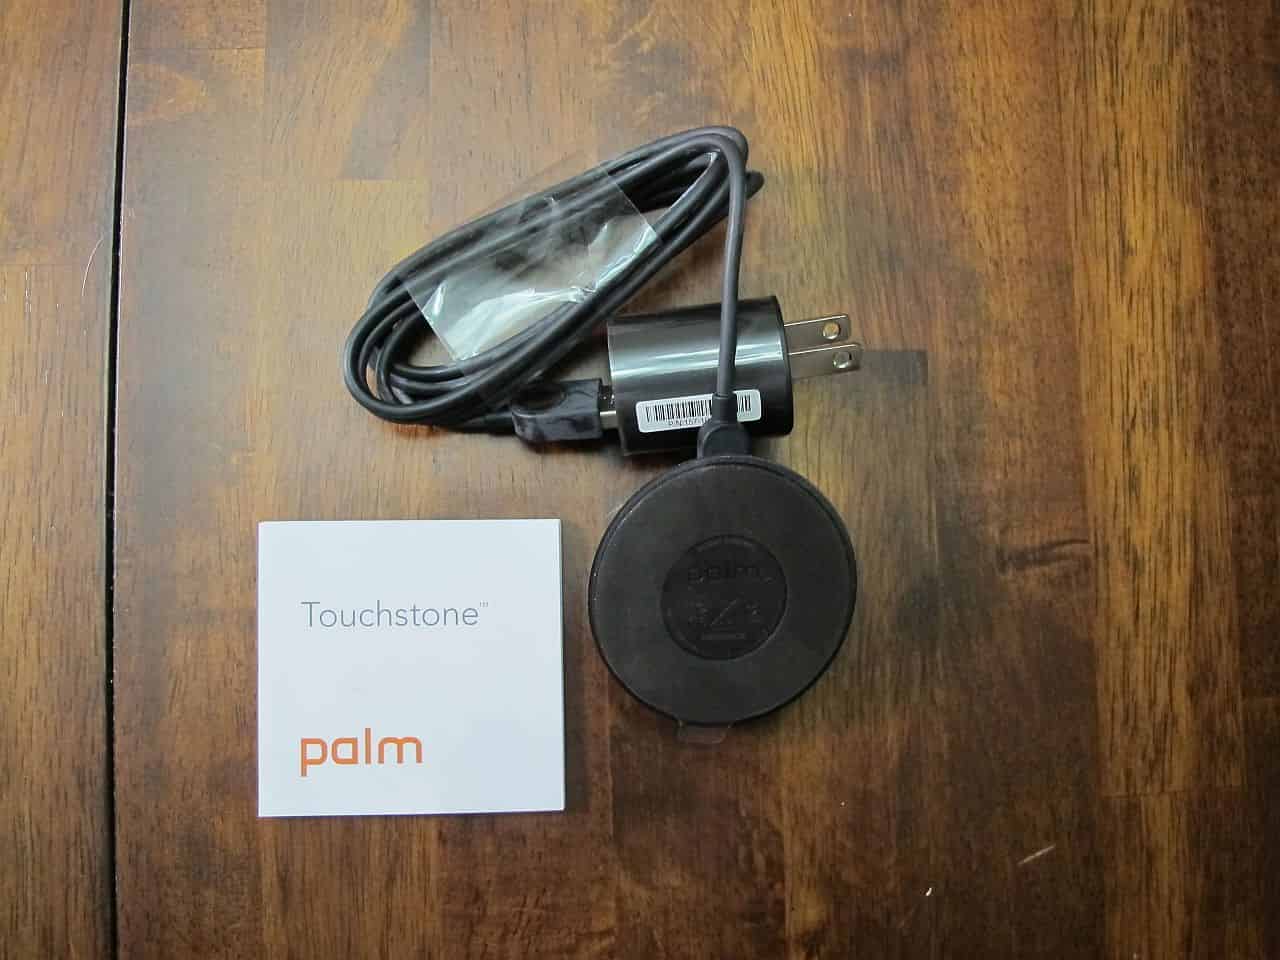
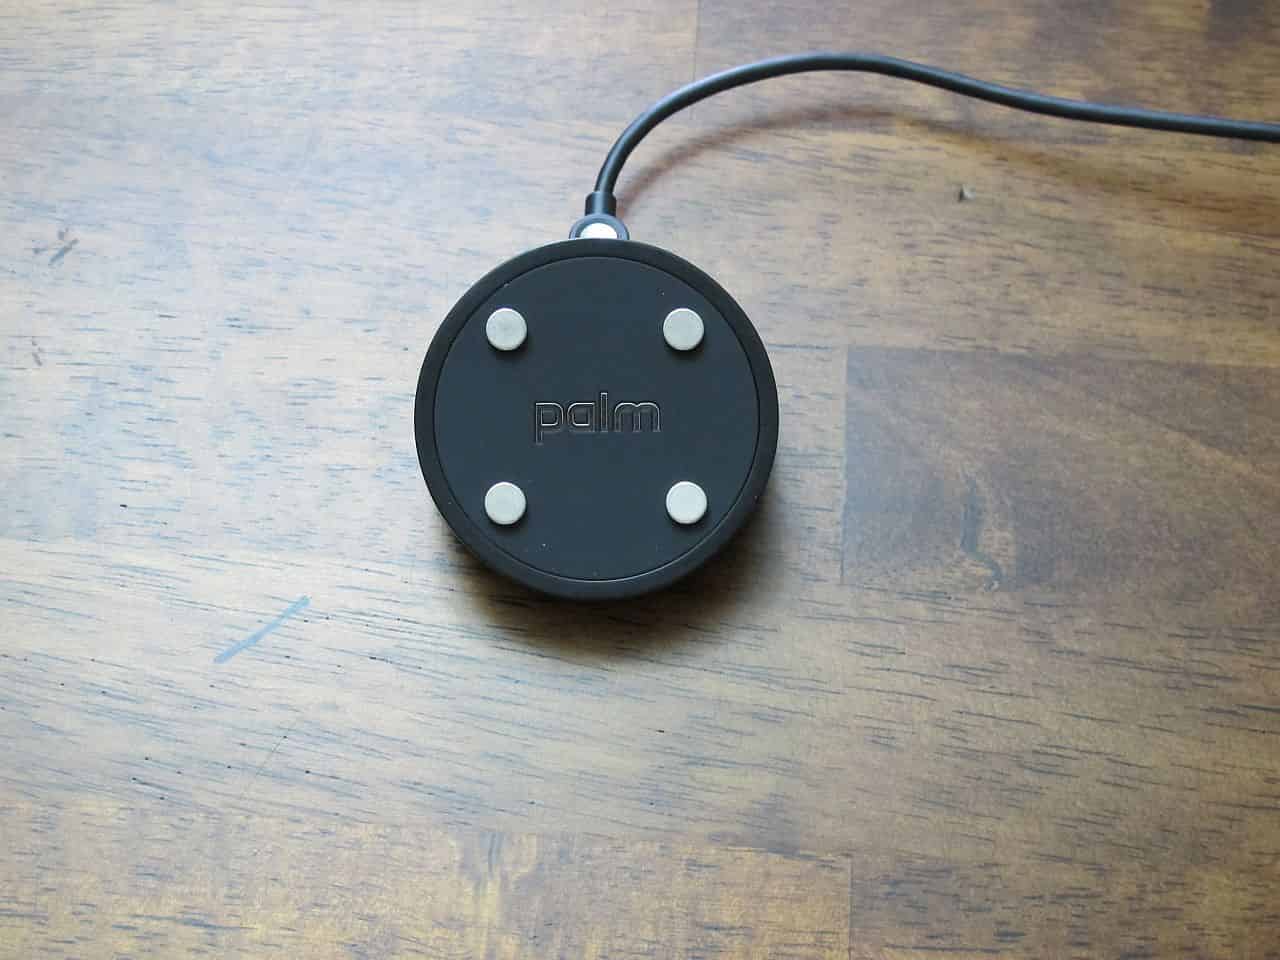
- Palm Touchstone Charging Dock
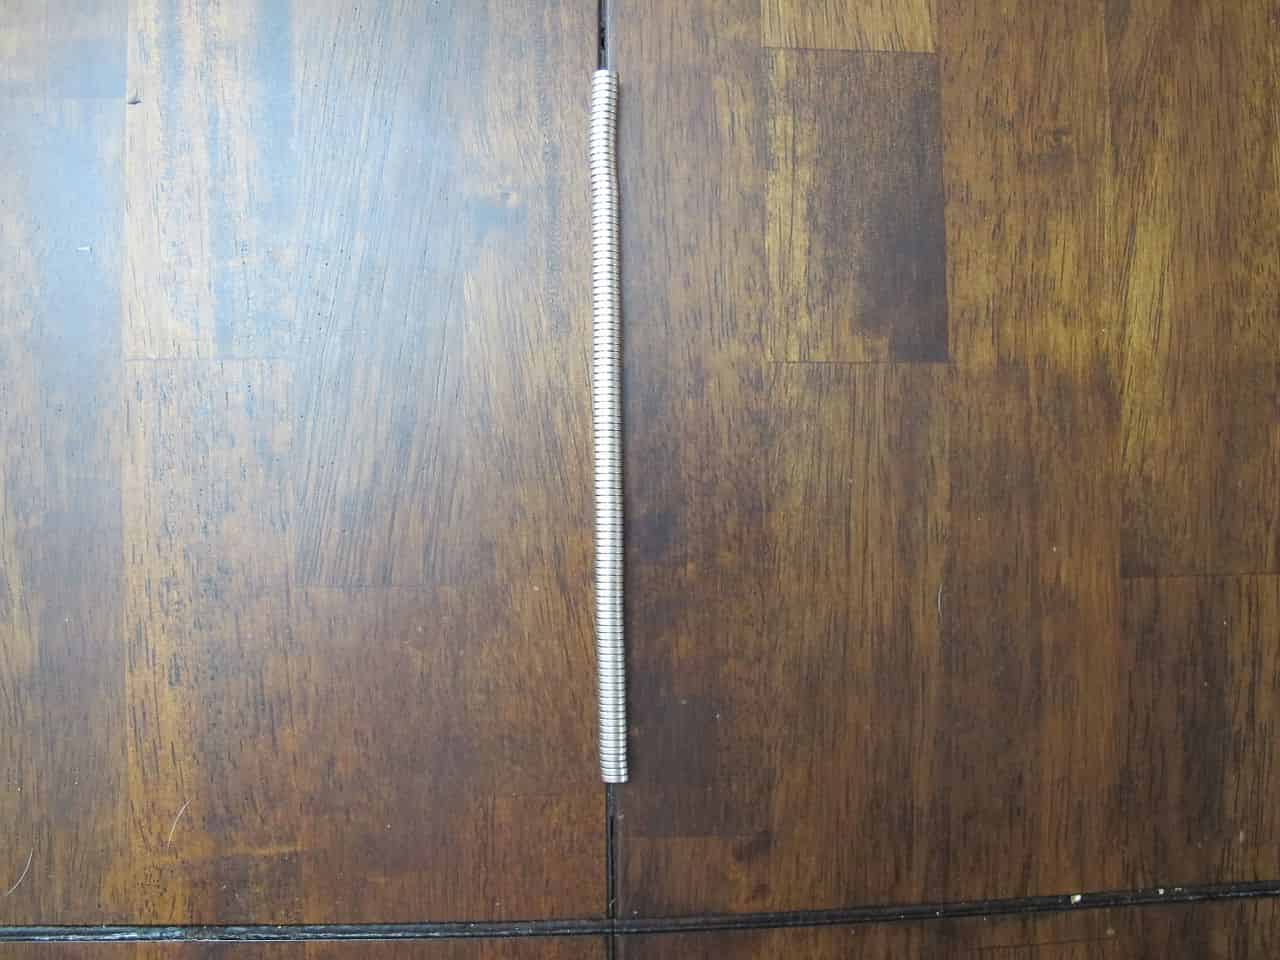
- Copper Tape
- Rare Earth Neodymium Magnets 1/4” X 1/16” (optional)
I wound up deciding the magnets might be useful in getting the phone to align with the charger, so I went ahead and picked those up. But that’s a completely optional item.
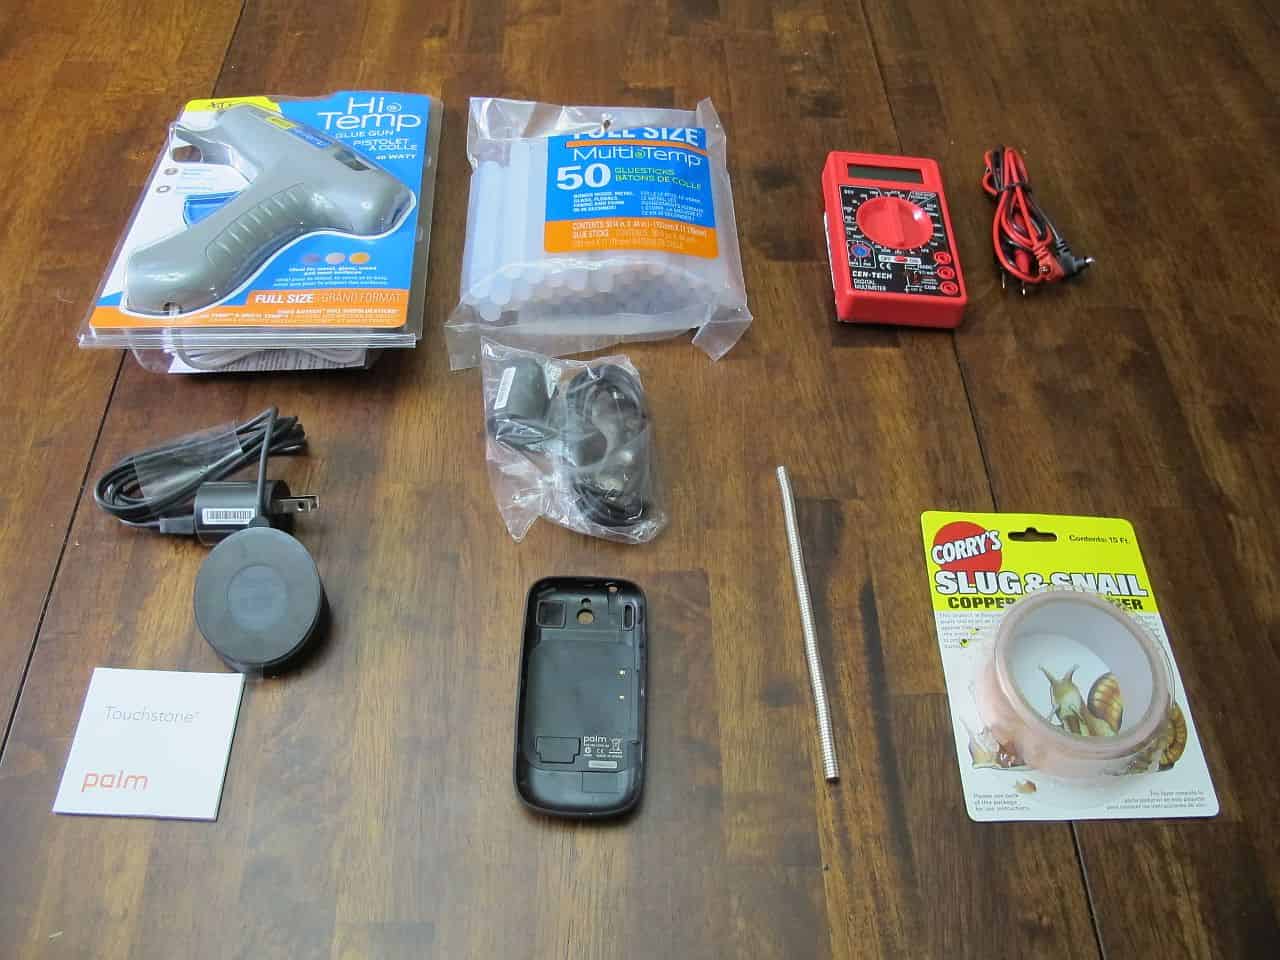

Tools Needed:
- Scissors
- Scotch Tape
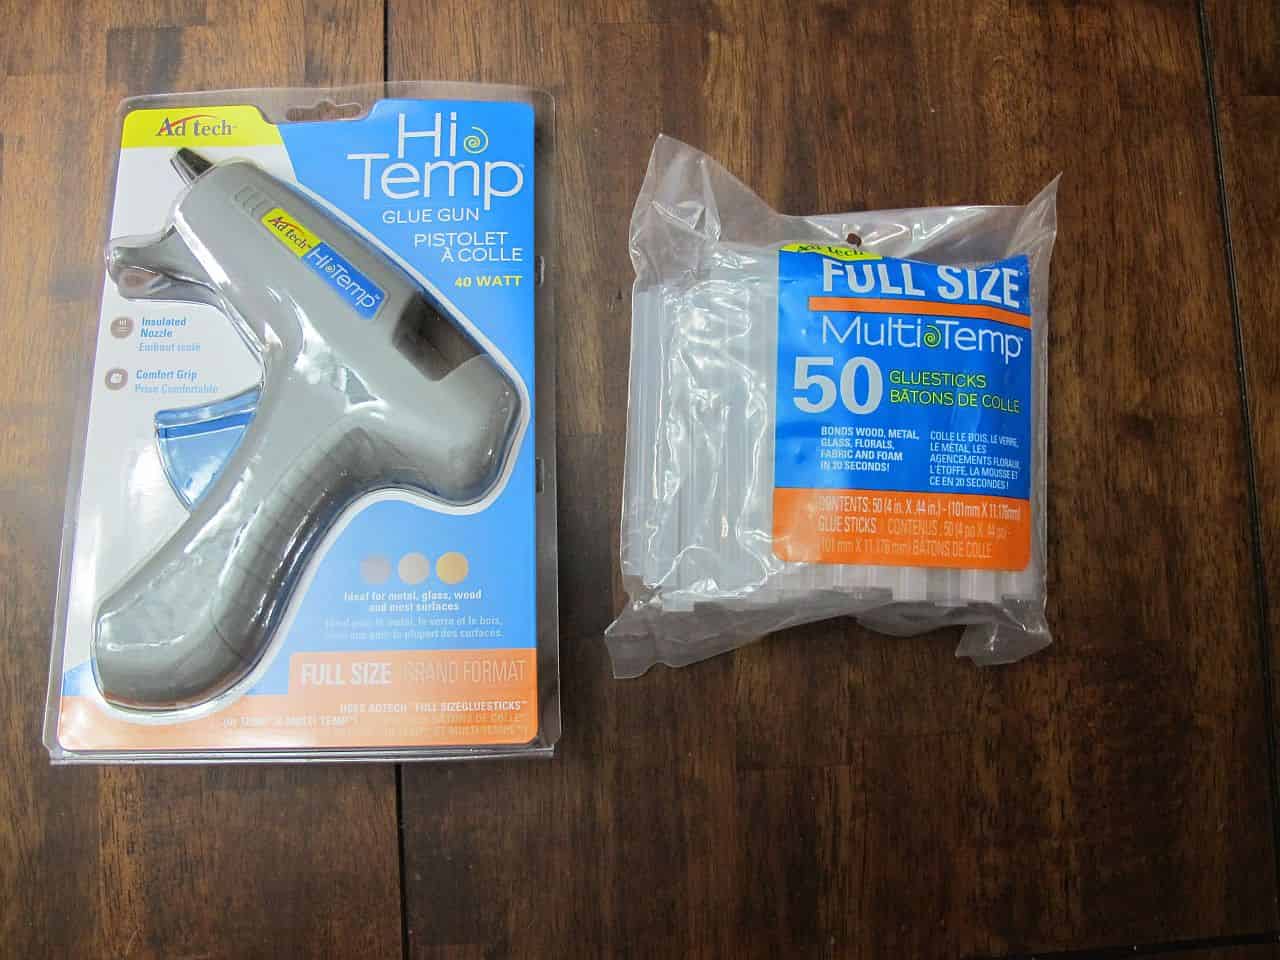
- Glue Gun
- multimeter
- Pocket knife
- Something slender and somewhat pointy; like a small screwdriver
The long and short of the mod is that you remove the wireless charging guts from the PALM Pixi phone cover, flip it 180 degrees, position it correctly in the Galaxy S3 phone cover, and then use copper tape to connect the charging terminals in the phone to the wireless charging guts. Cheap and easy, right? Not necessarily so in my case. I followed the steps online pretty closely and found them to be adequate but left me wanting additional details, and ultimately either defective parts or my own inexperience caused me problems.
After getting everything put together and into the back cover of my Galaxy S3 I placed it on the charger and tried to read the voltage off the contraption. Sadly, the multimeter read 0.00. I futzed around for a good hour making sure the copper tape was taped down and there weren’t any loose but never could get any positive readings off of the multimeter.
I began to become concerned about a few things. Firstly, I had read in the thread, that positioning of the coil was important and could cause issues if you didn’t have the correct alignment between the coil and the charger. Secondly, I became concerned that I had defective or incorrect parts. And lastly, I was practically convinced that I had damaged the parts in the process of disassembling them somehow.
Assuming I had obliterated the electronics when disassembling and relocating the coil into my phone’s cover, I decided that I would order an additional Pixi Cover. On top of that, because I wanted to be able to charge via the Touchstone in a couple different places, I went ahead and ordered an additional Touchstone too.
Originally I had planned to nicely set everything using hot glue, but in the process I took everything apart and put it back together again in a variety of different configurations. When I got everything put together and functioning well, I simply decided that the scotch tape I had used to tack everything in place was going to be sufficient.
Having had these difficulties in my first attempt, I thought I’d write a detailed step-by-step of how I accomplished the task for the people out there like me who are more proficient in destruction than they are in creation. The difference between my successful and unsuccessful attempts was the liberal use of my multimeter at almost every step of the way.
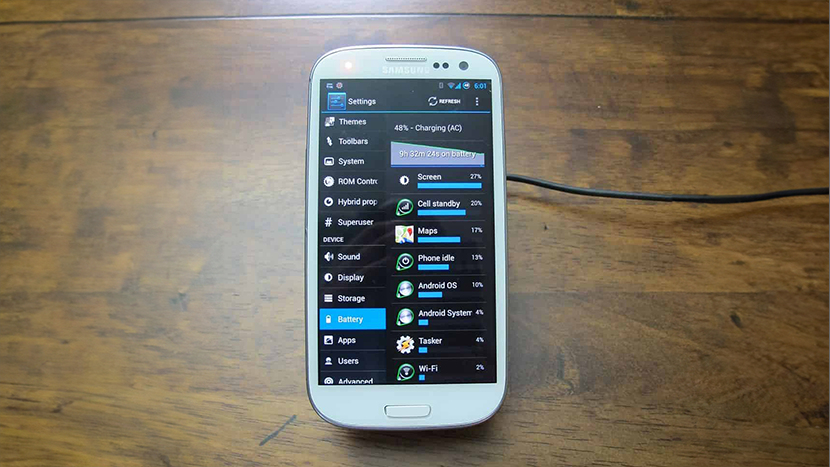
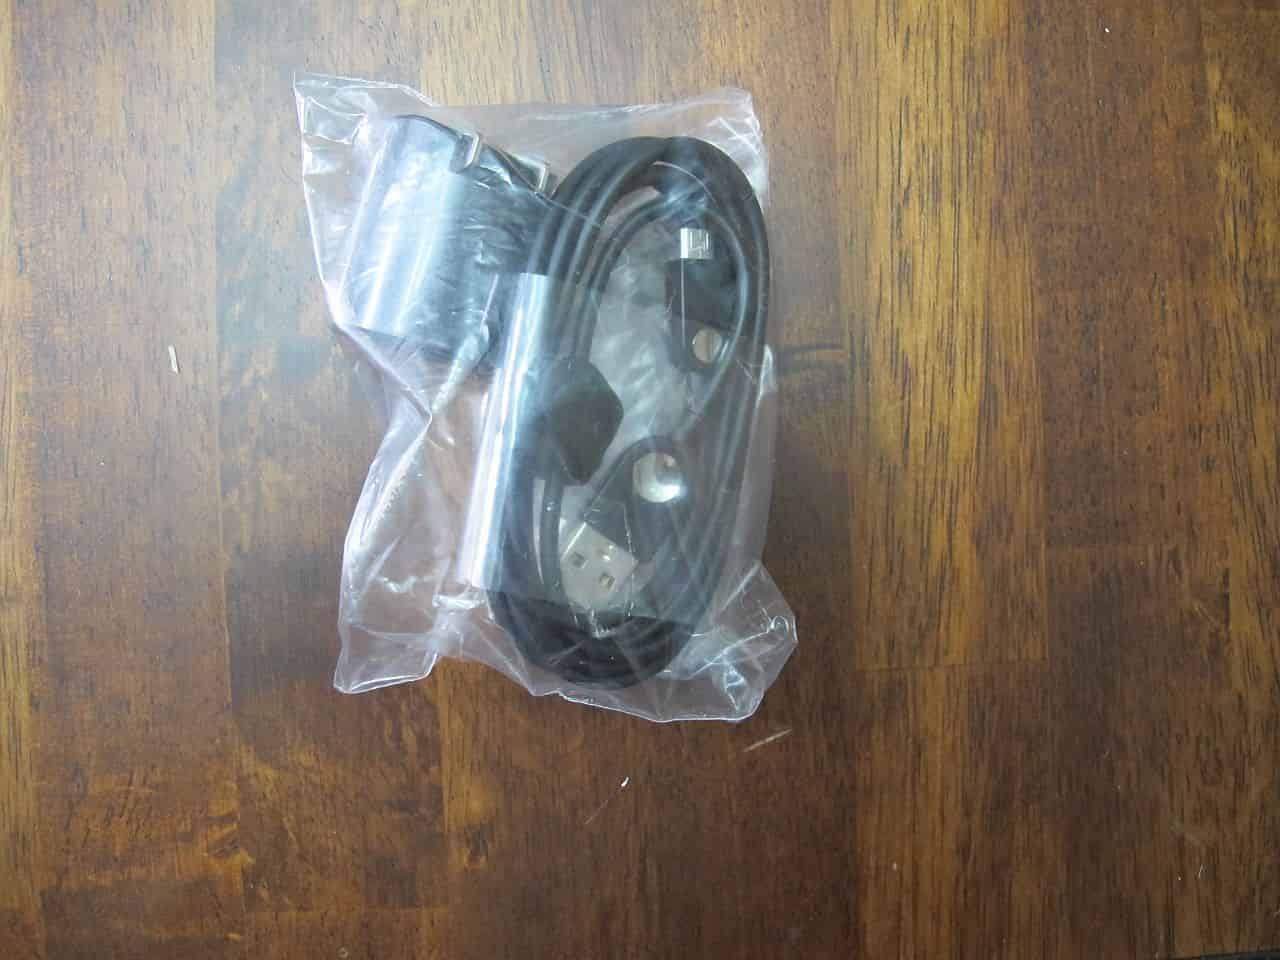
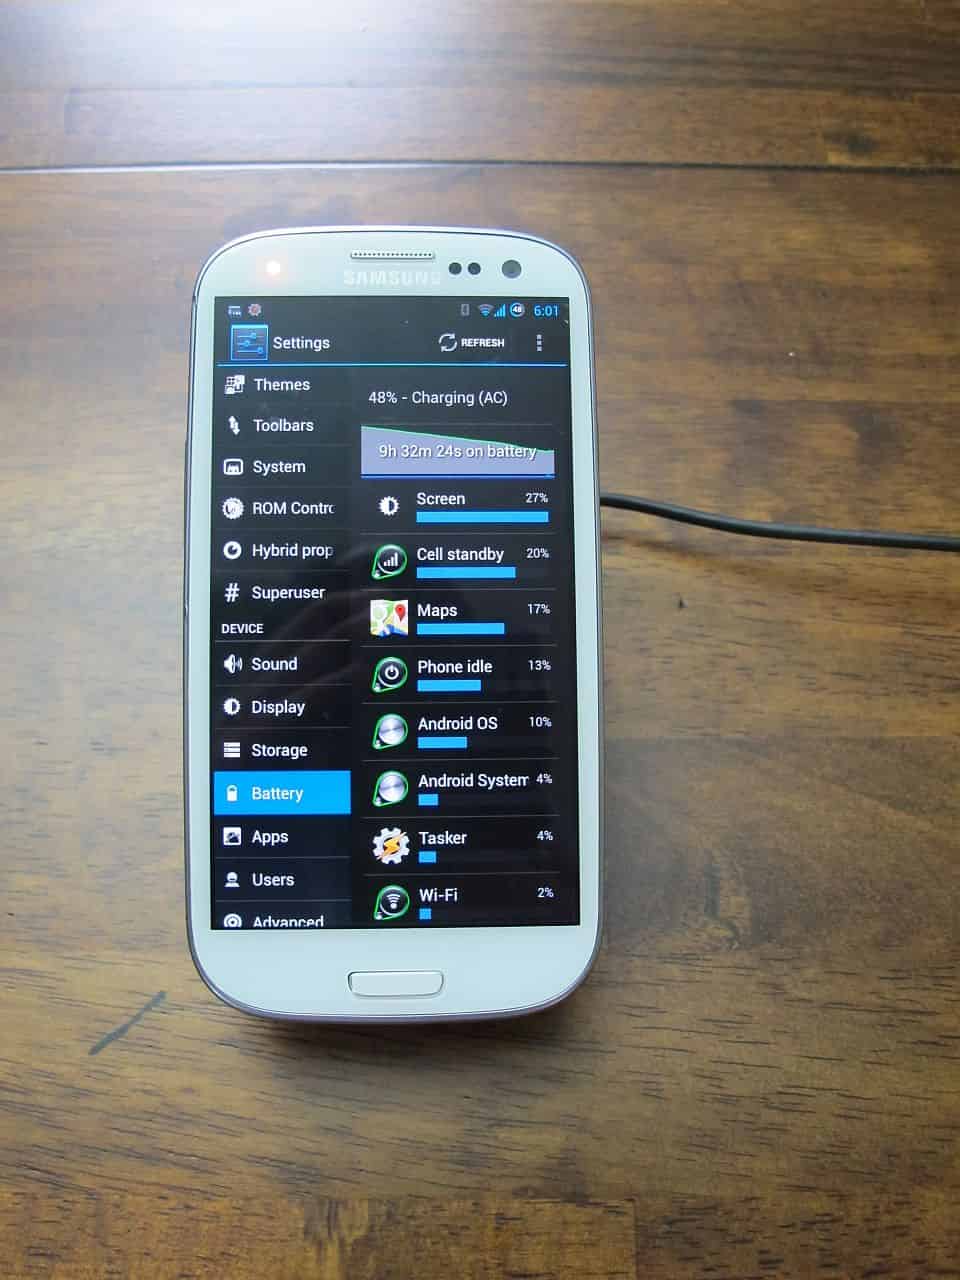
- Test the AC Adapter and Micro USB cable by plugging them into an outlet and into your phone. Your phone should start charging. In your phone’s settings, select Battery and make sure it says Charging (AC).
- Hook the USB cable up into the PALM Touchstone and place the PALM Pixi cover on the Touchstone. The magnets in the Touchstone should align the case correctly. Using your multimeter, test the DC Voltage on the two contacts inside the cover it should read around 5.5v. If it doesn’t right off the bat, then you probably just have it misaligned, so fiddle with it a bit to see if you can get the correct voltage read off the device. I noticed that my Touchstone whines very quietly when it’s properly aligned. When it was misaligned, it would be quiet or intermittently emit that whine.
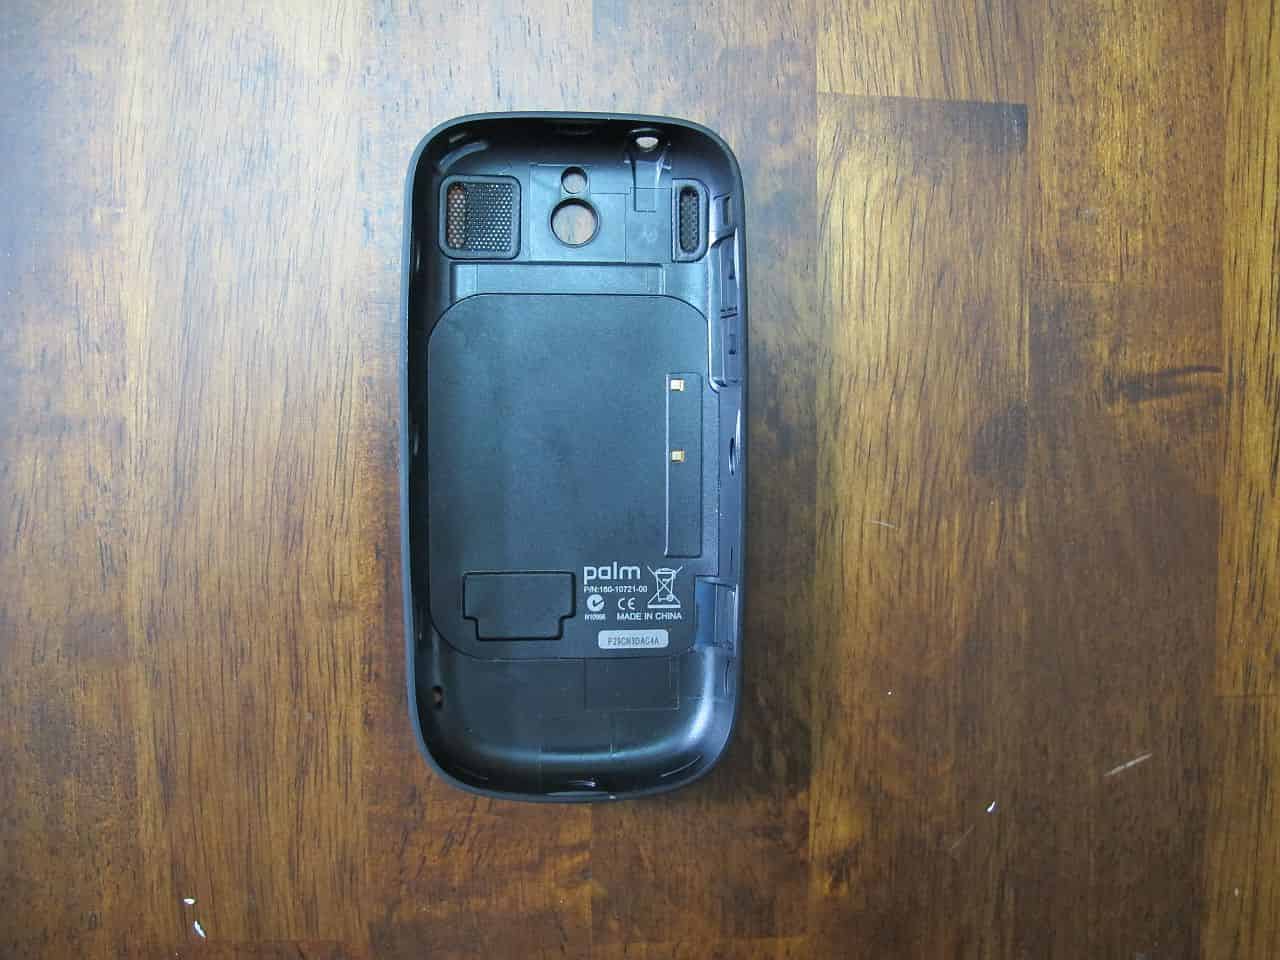
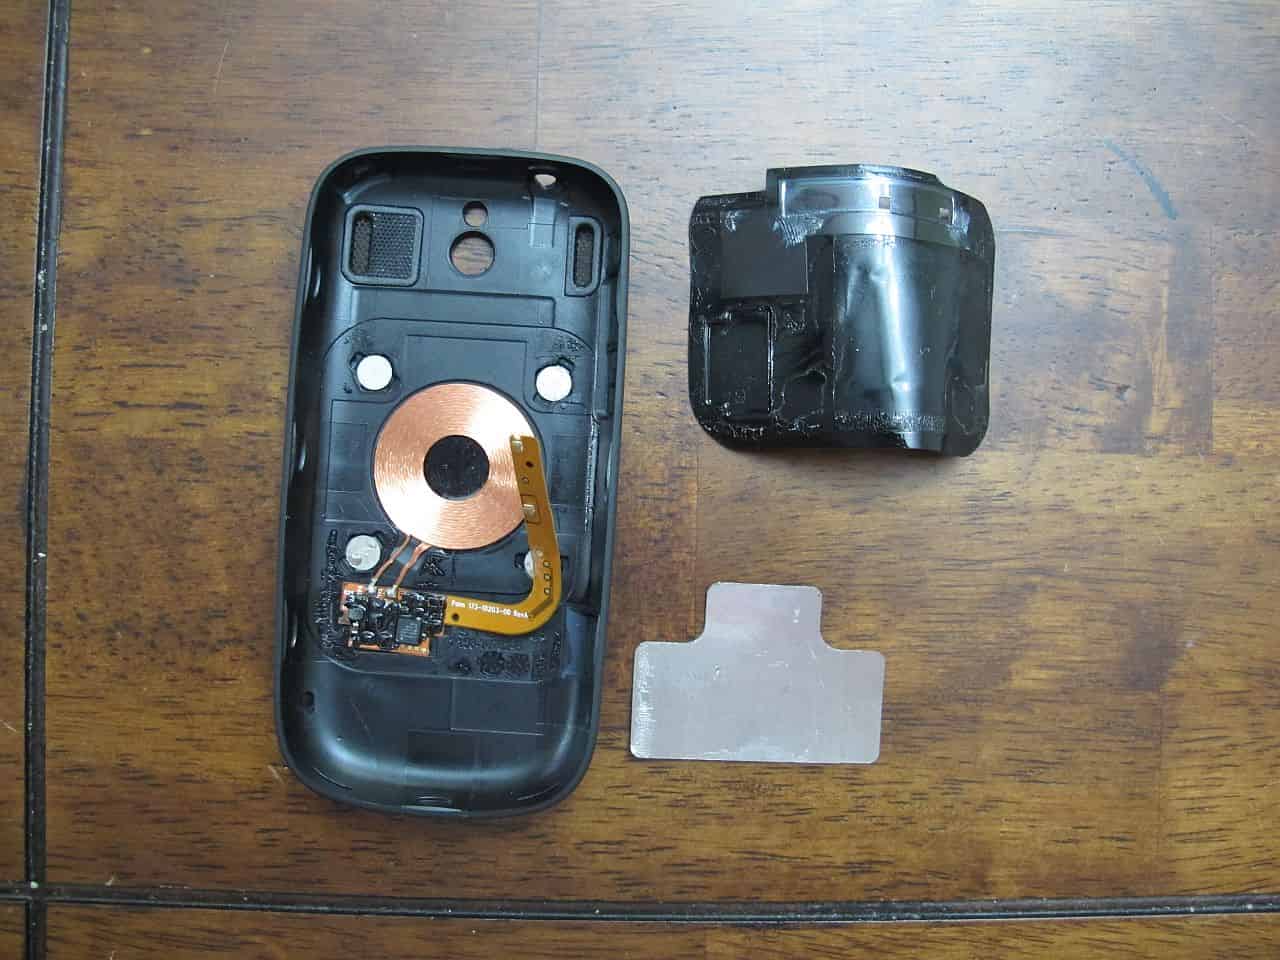
- Carefully disassemble the PALM Pixi cover. Everything is glued or taped in there, so taking it apart is pretty simple. The most stubborn pieces are the four metal discs.
- Take four of the Neodymium Magnets and place them on the PALM Touchstone like in this picture. Using the four metal discs and some scotch tape, set the four discs low in the back of the SGS3 cover. Make sure that their positioning and alignment roughly match what they did coming out of the Pixi cover. Test fit your SGS3 cover to the Touchstone and make sure the discs and magnets line up well.
- Flip the coil assembly (Coil, circuit board, flexible circuit board thingamajig) upside down and on it’s back. Then fold the flexible circuit board back on itself so that the positive and negative terminals are exposed. Center the coil in the four metal discs and then cover the bottom half of the coil with the t-shaped sticky tape that had been over it in the Pixi cover. Use the scotch tape to tack everything in place.
Note: This is an incredibly important step. I tried very hard to skip this step because this is where I was afraid I had damaged my first Pixi cover. However, it’s not possible to use the tape and line up the terminals with the battery terminals inside the phone. That’s why the author in the XDA forum thread said this was the clever part of the modification.
- Put the SGS3 cover on the PALM Touchstone, which should be plugged in to the wall, and make sure you’re getting a reading of around 5.5v on your multimeter.
- Set your SGS3 cover on its back next to the phone and eyeball where you’re going to need to use the copper tape and cut a few strips of the copper tape about 1in” x 1/8in”. (actual lengths may vary)
- Take two strips of the copper tape, and on one end of each strip, fold the end into a point. When doing this step, make sure you fold the shiny side over the sticky side to form your point because the shiny side is a better conductor than the sticky side.
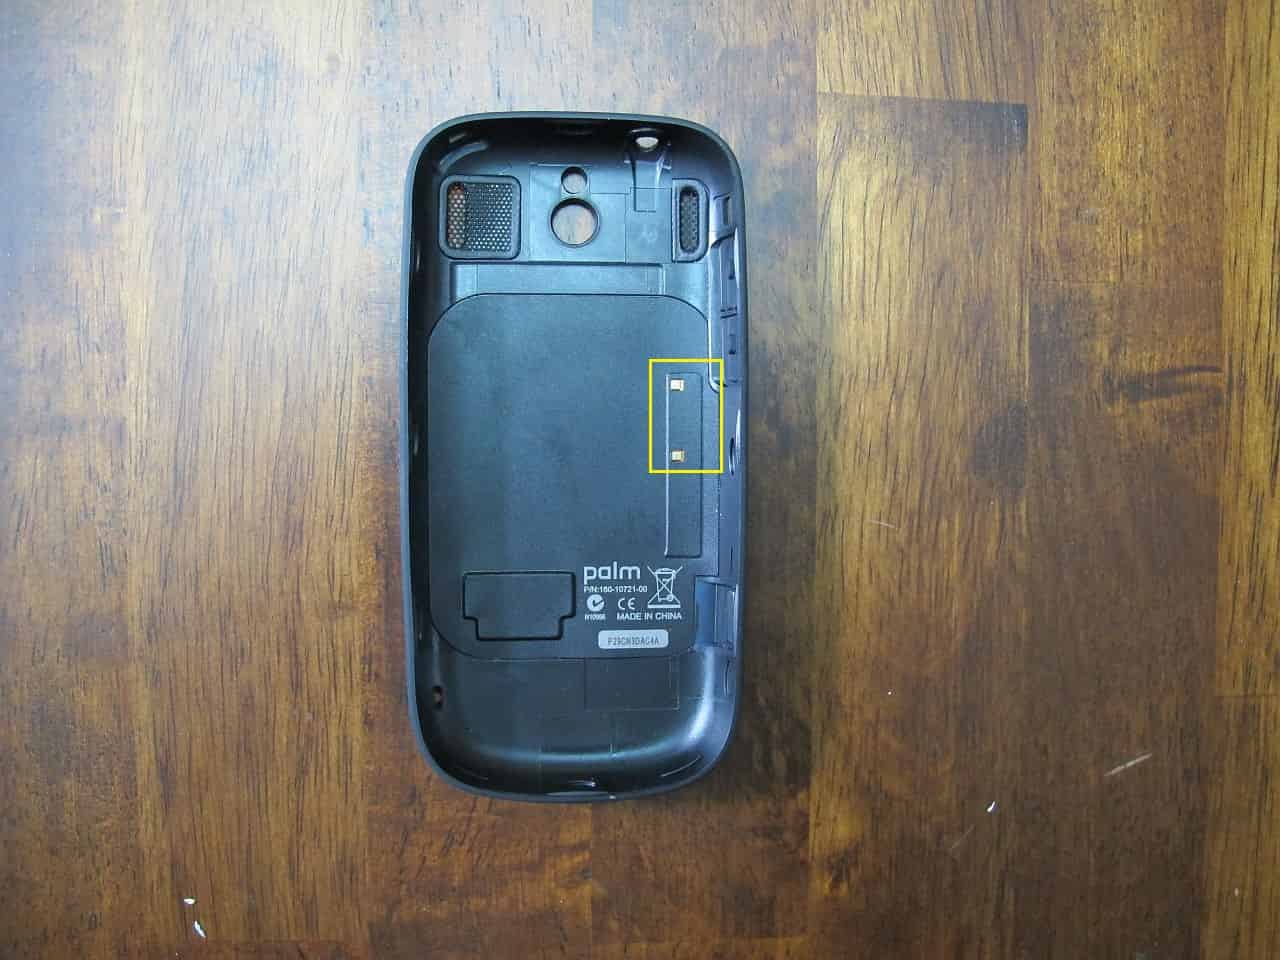
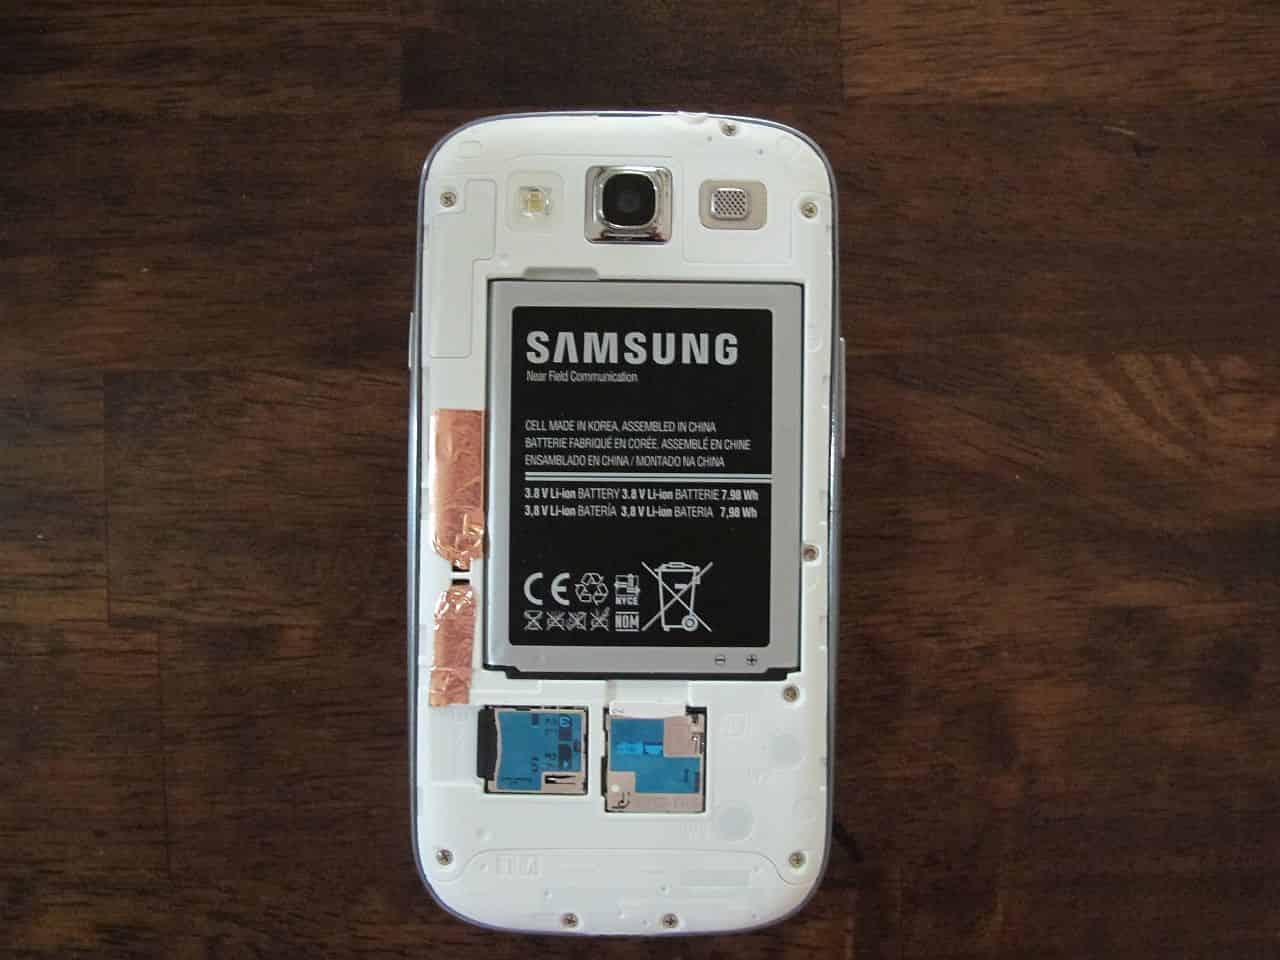
- On the phone’s charging terminals to the left of the battery, put the pointy end down between the terminal and the phone case. Use something pointy, like a pen, small screwdriver, the leads of your multimeter, etc. to gently push the pointy end of the copper tap down to make contact with the charging terminal. Run the other end of the tape (in the opposite direction of the other charging terminal) toward the edge of the case to just behind the case clips. Trim off any excess tape.
- Cut another 1/8” wide strip of copper tape. This tape will cover the top terminal on the flexible circuit board and then run to the matching edge of the case for the tape you ran from the top terminal in the phone. Place the back of your S3G3 on the Touchstone and measure the voltage, except this time measure from the terminal that has not been taped and the farthest point on your copper tape. If you’re reading 5.5v, you’re ready for the next step. If not, it probably requires a bit of re-taping. In the worst case, fold over the end of your copper tape and then tape that down on top of the terminal. The tape’s sticky surface can interfere with the connection to the terminal.
- Repeat step 10 for the other terminal on the flexible circuit board and test your cover on both lengths of the copper tape.
- Put the cover back on your phone, eyeball the strips of copper tape on both sides and make sure they line up correctly and touch their counterparts. Also make sure that it’s not getting shorted out on any other bits of copper tape. Carefully snap the case together.
- Put the phone on the Touchstone. Depending on your phone’s software you’ll get a message pop up saying that you’re wirelessly charging!
Note: Apparently, this message isn’t present in many aftermarket phone ROMs. If you’ve flashed any ROMs, don’t freak out like I did if you don’t see the dialog pop up . In settings, check battery and see if it says you’re Charging via AC.
As the original author indicates on XDA, here are a number of things that could cause problems. In the course of this modification I ran into every problem except the second one.
- Positioning of the charging coil with respect to the Touchstone
- Not using a PALM AC Adapter with the Touchstone
- A lack of a good connection between the copper tape and the charging terminals in the phone.
- A lack of a good connection between the terminals orfrom the charging coil electronics and the copper tape
- You broke something, like I did
In the event you’re worried about all the taking everything apart carefully and putting it back together, there appear to be options available for you. For around $20 on eBay someone is selling an assembled backplate for use with the PALM Touchstone. It’ll probably wind up costing you a few bucks extra but you won’t have to contend with doing these things yourself. Or, if you’re willing, you can spend anywhere between $40-$60 to buy a Galaxy S3 Wireless Charging Kit from Amazon, which contains all the same parts already put together for you.
This was incredibly easy to do, but it was also a little frustrating. I’m sad to say but humble enough to admit that the work isn’t necessarily in my wheelhouse. The parts are a little persnickety and it requires care and attention on your part in order to put it together correctly. According to the original author, it is a “super easy” five minute modification, which, if you’re familiar and confident, I imagine is entirely possible. However, in my case it took me a couple hours to get it working. I did take a little longer since I was working on writing this blog article and I also wasted a bunch of time unsuccessfully trying to improve upon the original author’s method. In the end, it was an interesting project and I’m pretty excited that I can just plop my phone down on the Touchstone and have it start charging.
My final thought is that this is a very good modification indeed. Other than an ever-so-slight bulge on the back of the phone, it’s hardly noticeable at all. It’s incredibly inexpensive; I wound up spending roughly $20-25 to add wireless charging to my Galaxy S3. When you consider the prices of the various different wireless charging items out there today, I think that’s a fantastic deal. If you ever go to sell and trade in your phone, you can easily remove the parts that you added and nobody would ever notice. The only negative thing I can conjure is that it’s dependent on obsolete parts from the PALM Pixi (or Pre) phones. That’s probably what makes it inexpensive right now; vendors are trying to clear their inventory, and as that happens the parts will likely vanish. Hopefully, by then you’ll have upgraded your phone to something newer with built-in wireless charging.
Lastly, a huge kudos and thank you to android94301 of the XDA Forums and all the people who chipped in thoughts in that thread. People like me rely and appreciate the heck out of people like you who figure these things out in the first place and share them with the rest of us!
Update
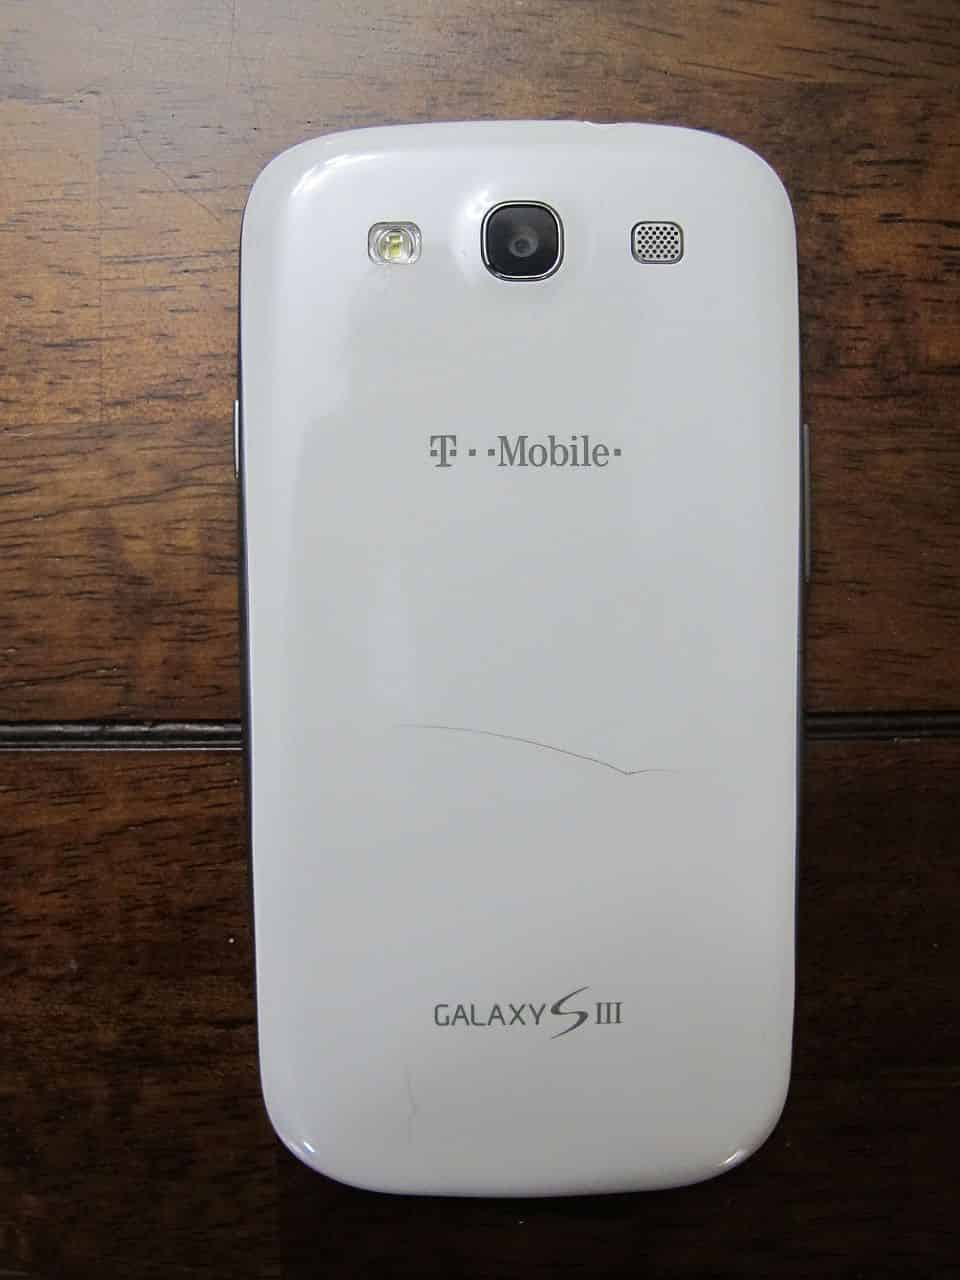
I noticed this week on vacation that the slight bump caused by adding the wireless charging bits to the back of my phone had developed into two hairline fractures of the back of the case. Considering the very thin nature of the S3’s battery cover, I suppose this is not surprising. However, it’s pretty disappointing that I’ve run into this problem. I’m wondering if it’d be possible to lessen the effect of this bump by reinforcing the back of the battery cover with a strip of something thin and flexible like duct tape before installing the wireless charging bits in the battery cover. Of course, that’s just going to make the amount of material inside the battery cover increase and there’s a chance it’ll increase the likelihood that the cover will crack like mine did.
I wound up deciding what to do about these two cracks and I attempted to fix with a can of PlastiDip and blogged about that experience. I really liked how the PlastiDip but it turned out that the PlastiDip didn’t stick very well to the curved edges on the phone and very quickly the PlastiDip began to peel back from the phone’s back pretty quickly.
I decided it was inevitable that I’d have to replace the cover on the phone. But the question would be how to maintain the wireless charging, would I swap the bits into the new cover of the phone and risk the same problem? Or would I try something else instead? Please see my latest blog on wireless charging for the Samsung Galaxy S3 to find out what I wound up deciding.