Catch Up
First, a bit of catch up. As a bit of full disclosure, my blog was offline for around six months. Nothing major, just a hardware migration that wound up taking longer and falling off the priority list for awhile. Parts one and two of this blog were written and posted prior to that migration. Part three was 90% written and was waiting to be completed.
In the first and second articles in this series I expressed my desire and plan to create a “stupid easy” backup process for our PCs at home using FreeNAS to store the backups and Genie Timeline Pro to create and sustain the backups.
So far I’ve covered, configuring a compressed share on the FreeNAS box, installing and creating the first backup using Genie Timeline Pro, and how to recover files in a couple different scenarios.
Disaster Recovery
Some of the times, there’s been some sort of a disaster: you lose a hard drive or delete your Windows directory. Or you might be doing something like upgrading your primary hard drive or restoring your old backup to a brand new PC. In these cases, you will need to use the Disaster Recovery option.
I thought about doing something dramatic on my own PC to demonstrate the disaster recovery option. Perhaps deleting my Windows directory, or throwing my hard drive from a moving car but I thought that might have been a bad idea and would open myself up for all sorts of e-ridicule. Ultimately, I decided it might be easier if instead I created a brand new Virtual Machine using VirtualBox. However,I suspect because of the drastic hardware differences between the VM and my desktop PC it caused some problems. Instead, I took the time to build a brand new Windows 7 installation on the Virtual machine, I installed a couple of games from my Steam Library, copied over some of my random files from My Documents and finally backed up the entire machine using Genie Timeline Pro. After brushing off the six months of dust that my VM had accrued, I renewed my Windows 7 Trial Key and installed all of my system updates. To simulate a disaster, I deleted the primary partition and confirmed that the machine would not boot back up.
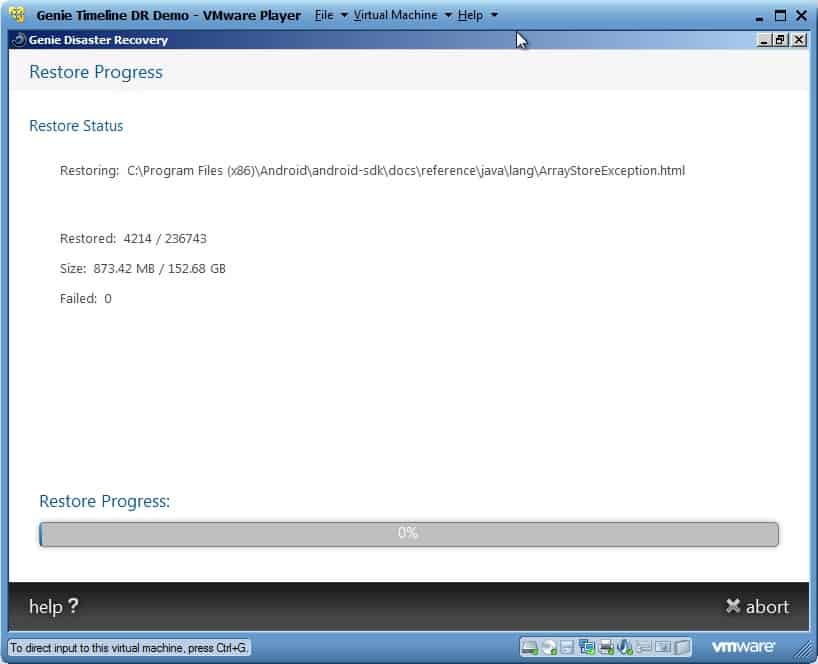
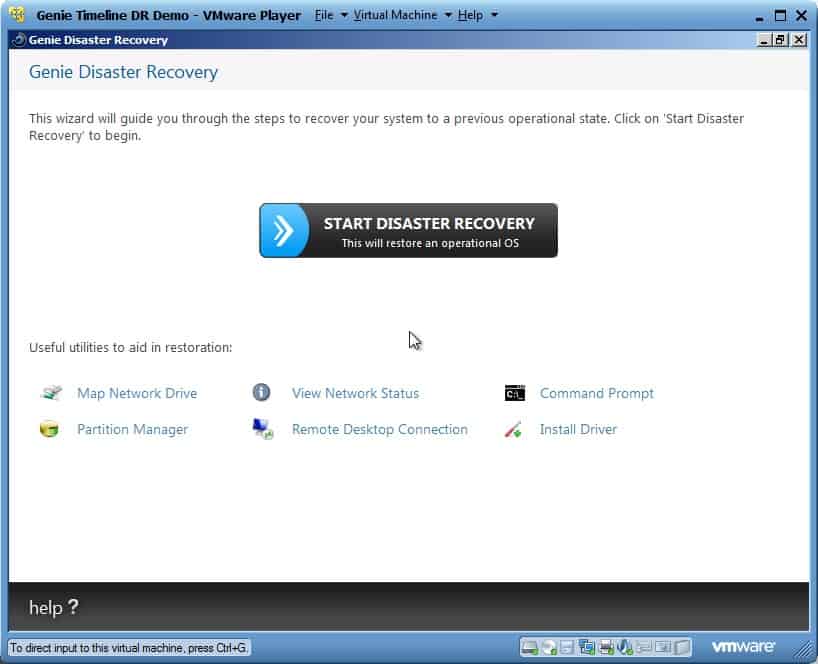
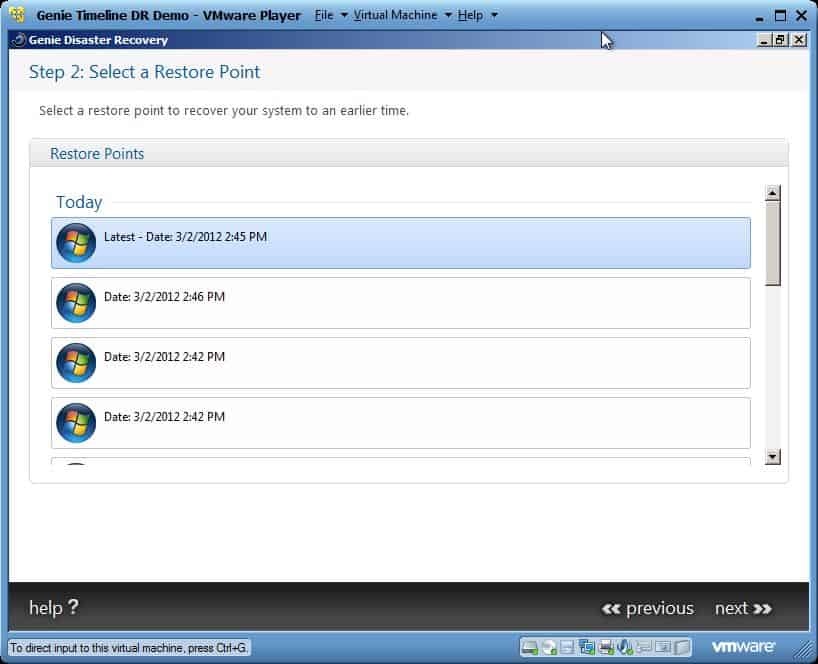
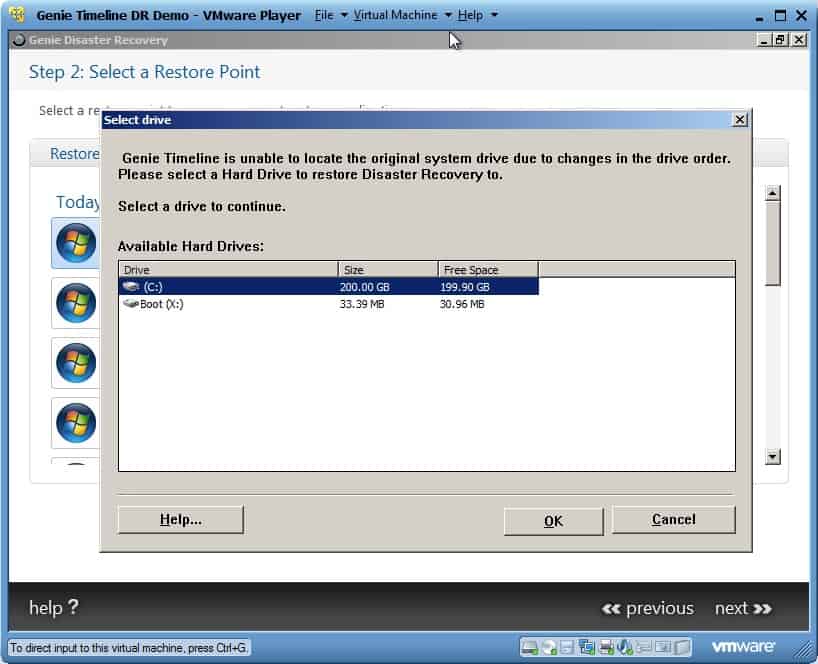
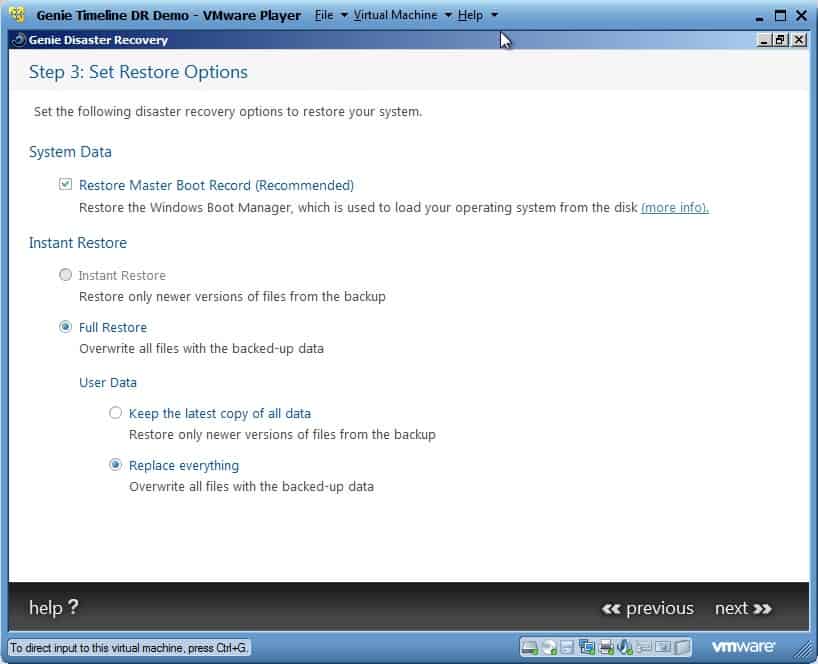
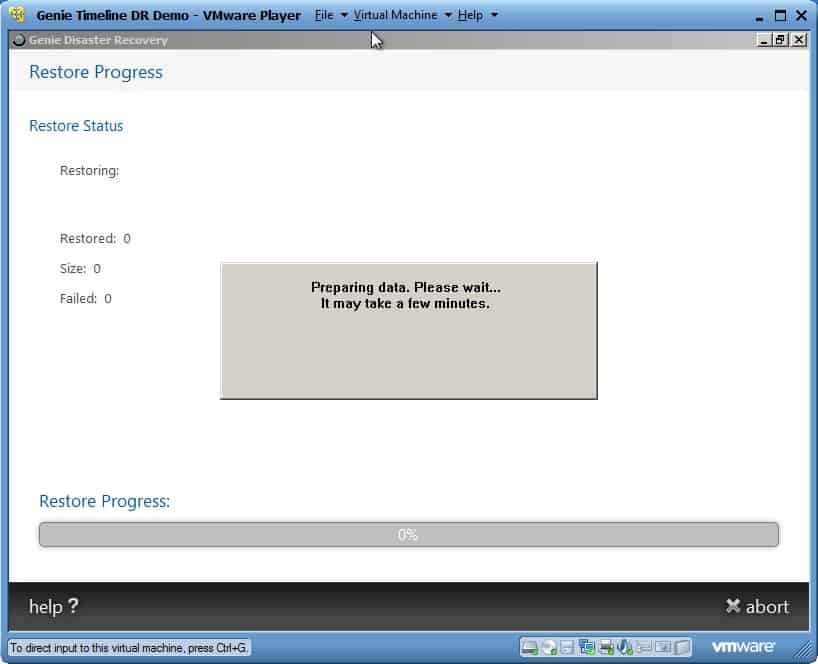
I booted off of my Disaster Recovery ISO I made earlier. From the main screen, I mapped a drive to my Backups share on my FreeNAS machine. After that, I partitioned and formatted the virtual hard drive. From there, I followed the disaster recovery wizard. I selected the backup, then picked which restore point to use in the restoration. Beyond that, I selected to restore the master boot record and to replace everything. The backup began copying. After giving Genie Timeline some time, the machine was restored and ready for a reboot. The machine booted right up into Windows without any issues.
Upgrade to Genie Timeline Professional 2012
A new version of the product, Genie Timeline Professional 2012 came out while I was working on this post. When the new version was available I decided it made sense to keep it current. The upgrade was effortless. According to the product sheet, the new version is two times faster and features machine level de-duplication to save both disk space and time.
Next Steps
My next steps are to “roll out” Genie Timeline Professional 2012 to my other computers in the house (three total) and get them backing up as well. I plan to wrap up this series of blogs with a summary article where I can talk about the amount of money I spent, the features of my solution, and how much time it wound up consuming get it set up and sustained.
</div>

